Decking
In Hawthorne, maximizing your outdoor living space is essential for enjoying our beautiful seasons. Our premium decking solutions provide durable, weather-resistant outdoor areas perfect for entertaining and relaxation.
Reliable teams. Organized execution. Proven results.
What We Do
In Hawthorne, maximizing your outdoor living space is essential for enjoying our beautiful seasons. Our premium decking solutions provide durable, weather-resistant outdoor areas perfect for entertaining and relaxation.
Protecting your property from the Hawthorne climate requires high-quality exterior and interior finishes. Professional painting not only enhances curb appeal but also provides a crucial layer of defense against environmental wear and tear.
Elevating the interior aesthetics of your Hawthorne property adds significant value and comfort to your daily life. Strategic home decoration modernizes your living spaces and reflects the highest standards of contemporary design.
Our Projects
 Featured
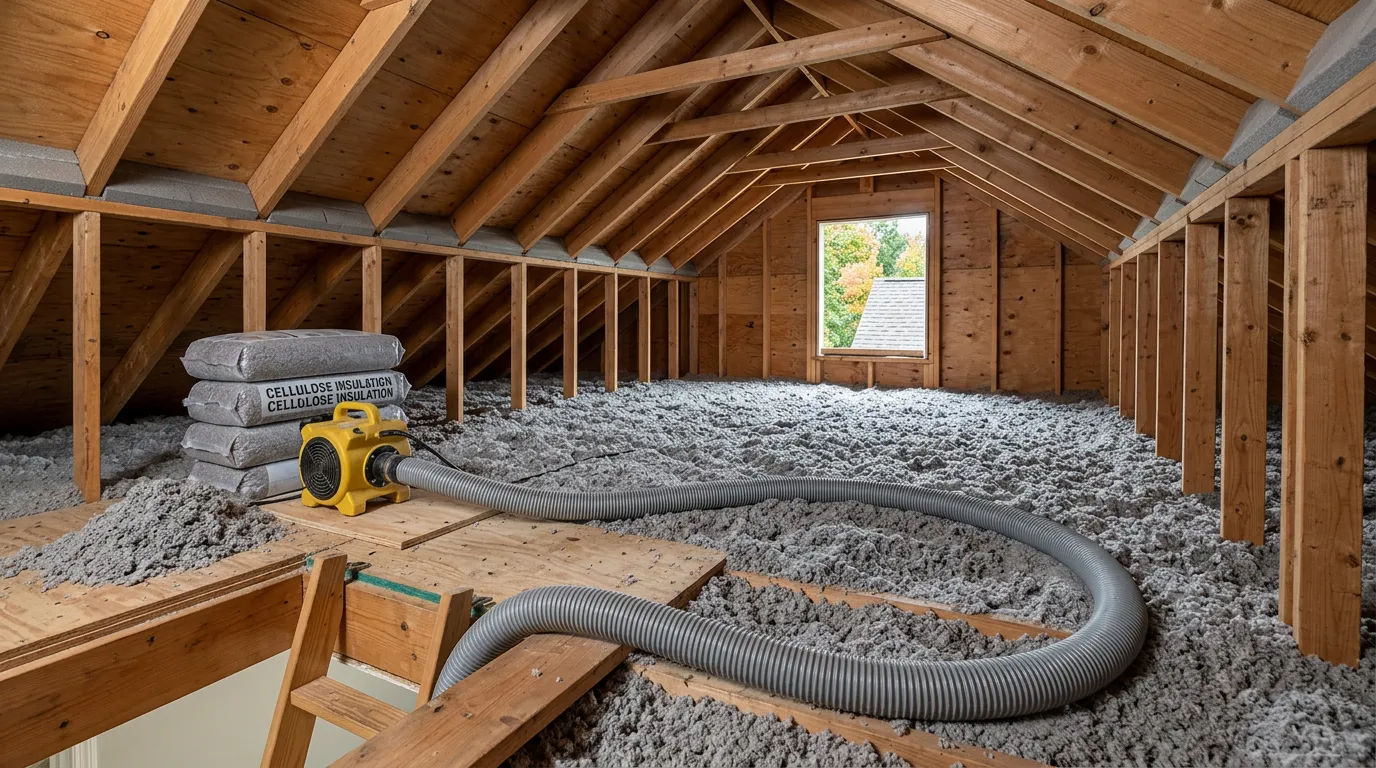
In Katonah and the broader Westchester area, long heating seasons and frequent freeze-thaw cycles make attic heat loss expensive; upgrading insulation in early fall improves comfort before the first sustained cold stretch. · Sep 14, 2026
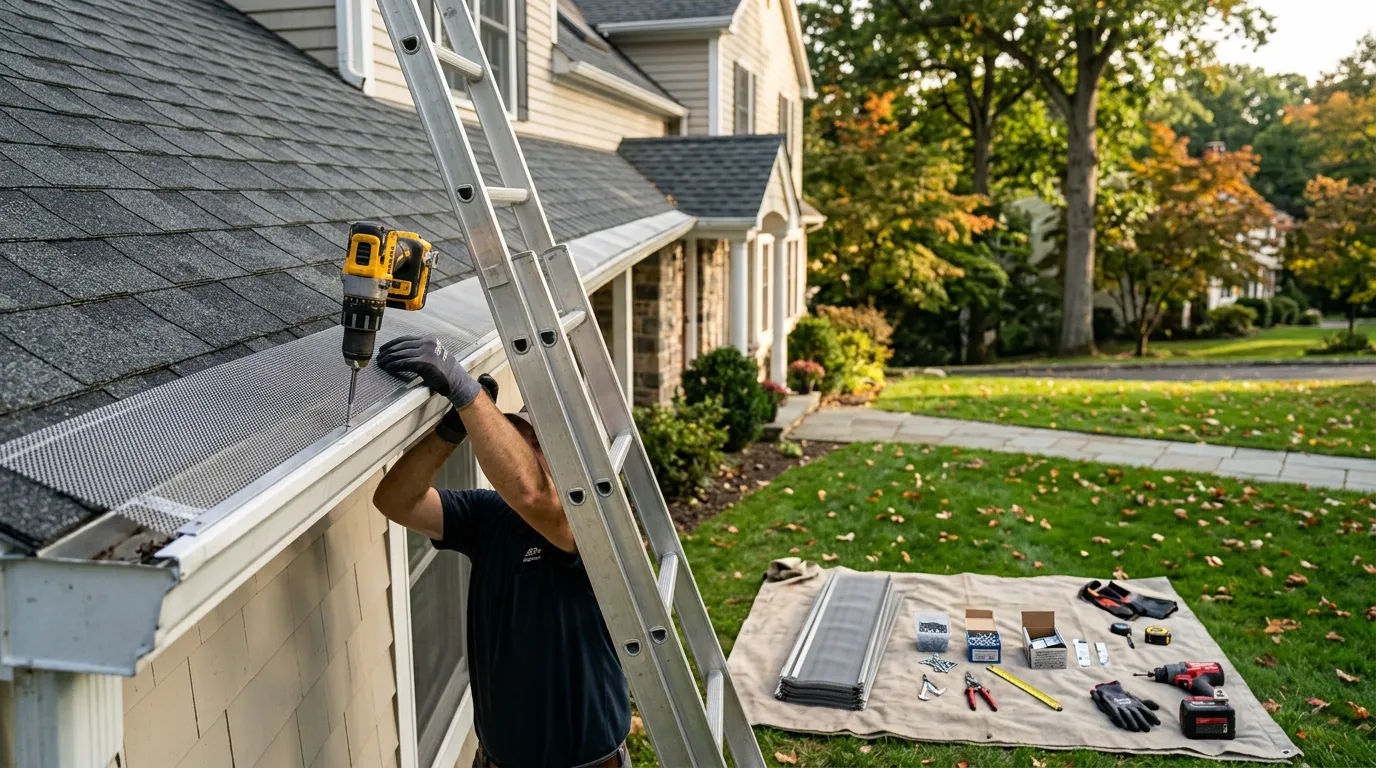
Katonah’s heavy fall leaf drop and early cold snaps can turn small gutter clogs into ice-prone backups, so adding guards in September helps protect fascia and prevent winter overflow. · Sep 14, 2026
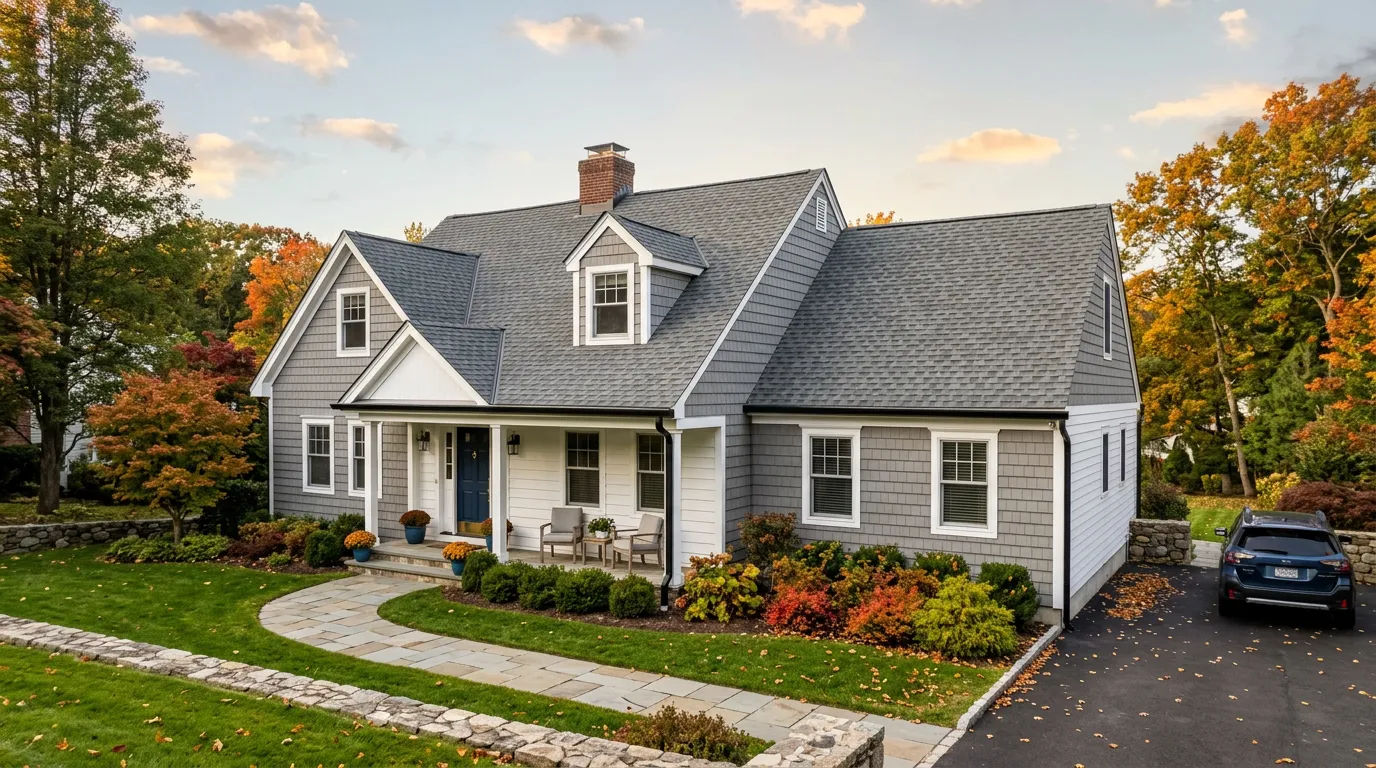
Cold-zone homes around Katonah often see attic condensation when warm indoor air meets cold roof decking; fixing airflow and air leaks in September prevents mold and wood rot as temperatures drop. · Sep 14, 2026
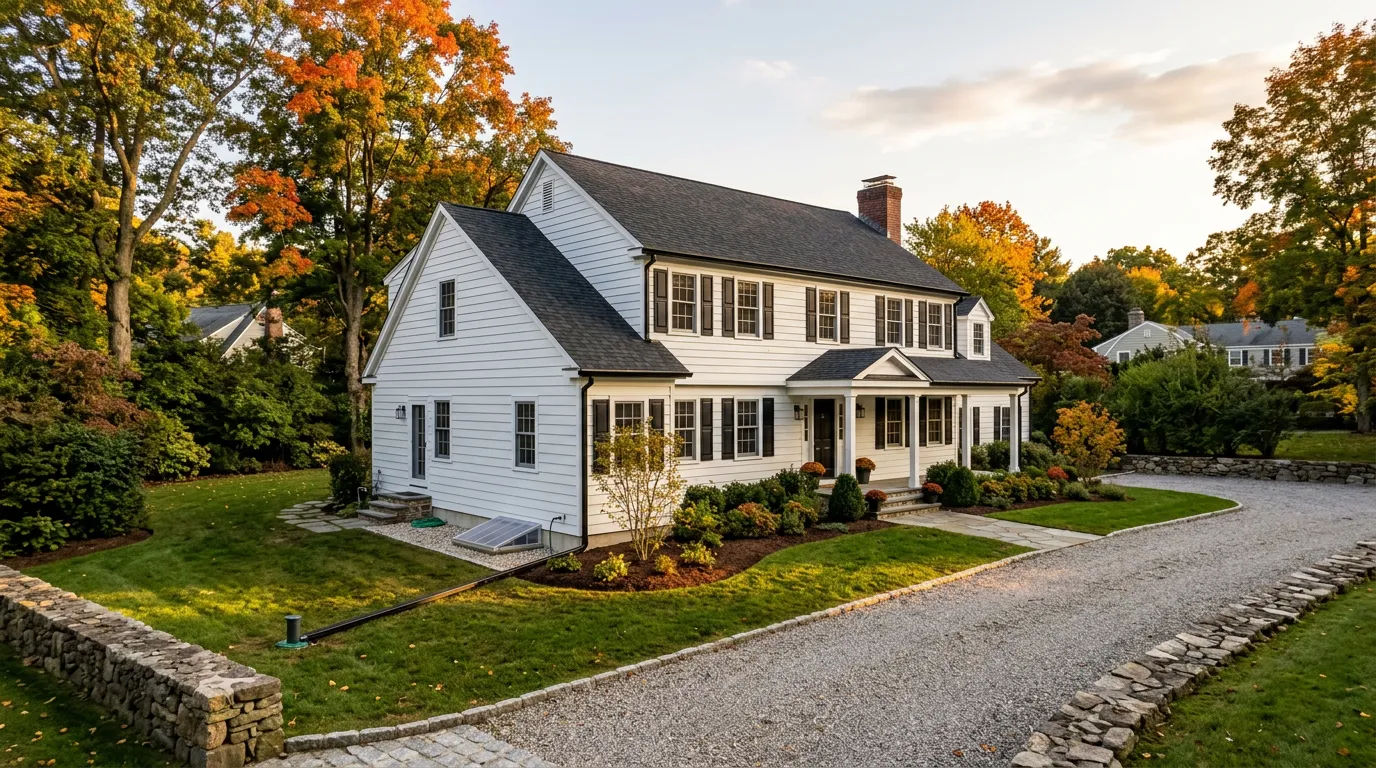
Katonah’s cold winters and freeze-thaw cycles can push groundwater toward foundations; addressing seepage in September helps stabilize conditions before winter snowmelt and saturated spring soils. · Sep 14, 2026
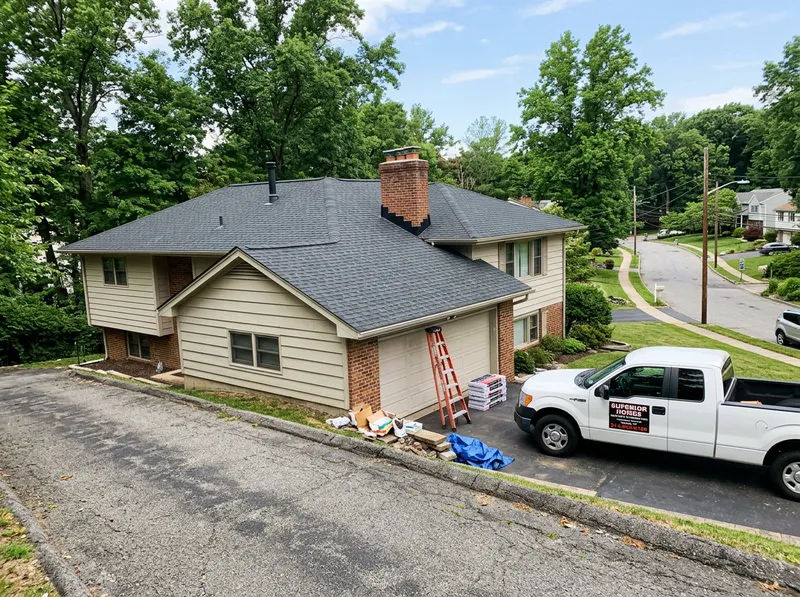
45+
Years Experience
Our Commitment
Superior Homes delivers comprehensive home improvement services throughout Hawthorne, from kitchen and bath remodeling to complete interior renovations and exterior upgrades. With 45 years of proven results, our trained crews and standardized processes ensure every project meets exacting quality standards while maintaining clear communication from estimate to completion.
Our organized scheduling system ensures prompt project starts and efficient completion timelines that respect your schedule.
We provide detailed written estimates with clear breakdowns so you understand exactly what you're investing in before work begins.
Four and a half decades of experience backs our comprehensive warranties and commitment to workmanship that stands the test of time.
Built Around Hawthorne
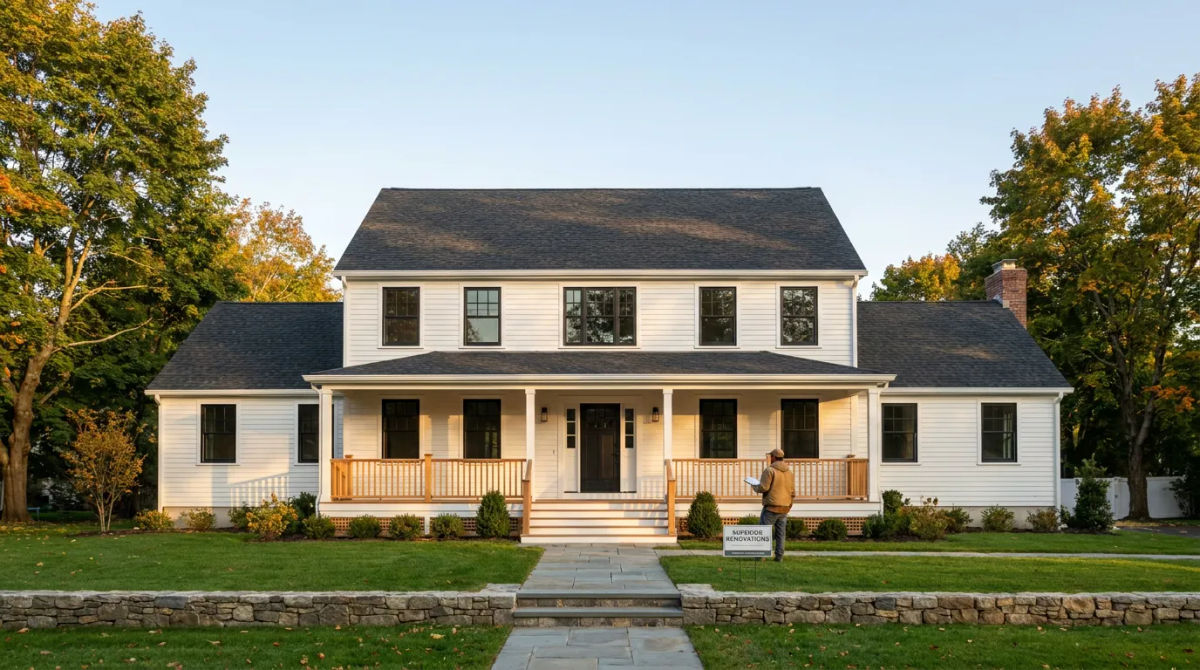
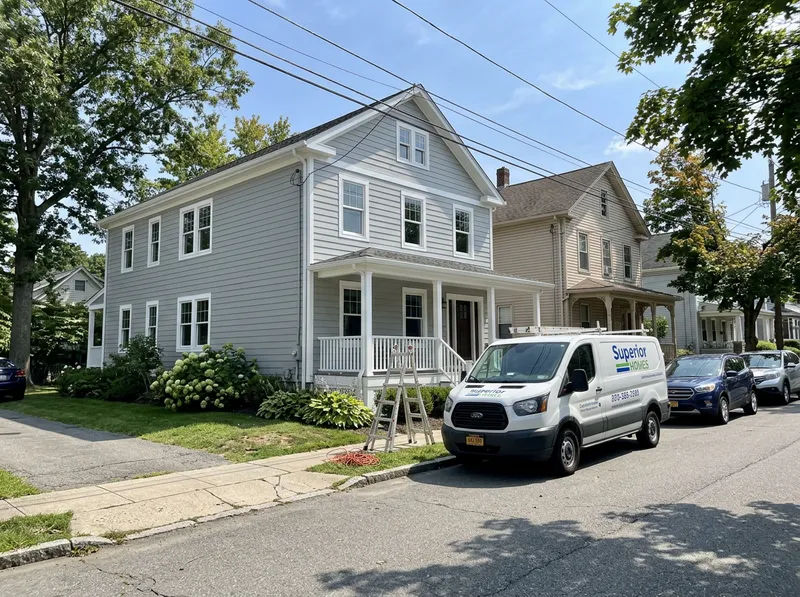
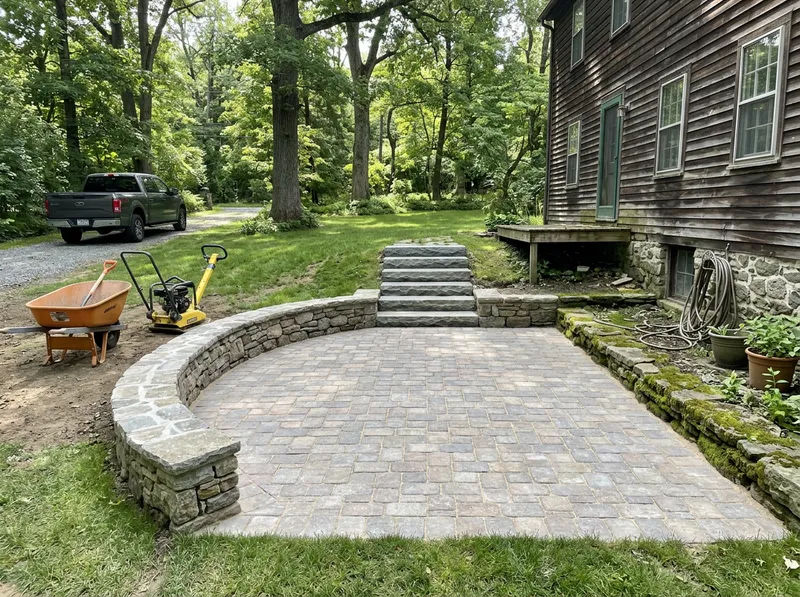
Take a look at recent Superior Homes projects completed across Hawthorne and nearby Westchester neighborhoods. These are real, on-site snapshots of quality work - finished details, clean lines, and homes left better than we found them.
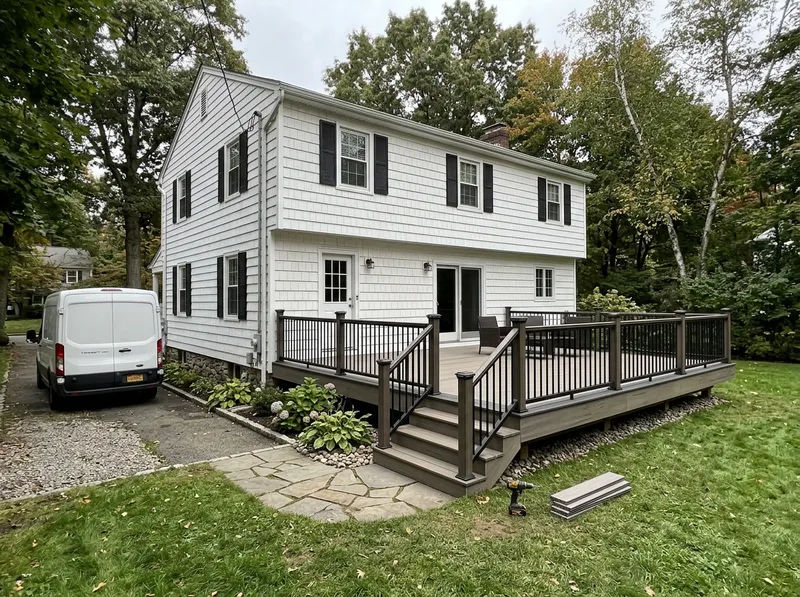
Get a free, no-obligation estimate from our trusted team.
Reviews
We serve Hawthorne and the entire area with the same premium quality.
Resources
As a lead service technician with over a decade of experience in Katonah and northern Westchester County, the first question homeowners almost always ask me is, “How much is this going to cost?” It’s a fair question. An attic insulation upgrade is a significant investment, and you deserve to know exactly what you’re paying for. My goal here isn’t to sell you anything, but to give you the transparent, field-tested information you need to budget for this project and understand the value it brings to your home’s comfort and energy efficiency. Especially as we head into September, the timing for this conversation is perfect. The cooler weather makes it safer and more efficient for our crews to work in attics, and completing a **pre-winter insulation upgrade Katonah** homeowners can lock in significant energy savings before the first major cold snap arrives and those heating bills start to climb. Let's break down the real **attic insulation cost** you can expect. ## Average Costs in Katonah In the Westchester County area, the **attic insulation price per square foot** for professionally installed blown-in cellulose typically ranges from **$2.00 to $4.50**. This range accounts for the complexity of the job, the amount of material needed, and the necessary prep work, which I'll detail in the next section. To give you a clearer picture, let's apply these numbers to common home sizes we see in our area: - **For a 1,000 sq. ft. attic (common in smaller Ranch or Cape Cod homes):** You can generally expect a project cost between **$2,000 and $4,500**. This often includes basic air sealing and bringing the insulation up to modern R-49 standards. - **For a 1,500 sq. ft. attic:** The estimated cost would be in the range of **$3,000 to $6,750**. Larger attics require more material and labor, and often have more complex layouts with more points to air seal. - **For a 2,000+ sq. ft. attic:** Costs can start at **$4,000 and go up to $9,000 or more**, especially if extensive prep work or removal of old insulation is required. Remember, these are ballpark figures. A thorough inspection is the only way to get a precise quote, as every attic is unique. ## Factors That Affect Price The final price on your estimate is determined by much more than just the square footage. From my experience in the field, these are the key variables that drive the cost of **blown-in cellulose insulation Westchester NY** projects up or down. - **Existing Insulation Condition and Amount:** Is there old, compressed fiberglass batts? Is it contaminated with dust, debris, or signs of pests? If the existing insulation is in poor condition, it must be removed before new material can be installed. This removal process is labor-intensive and requires specialized equipment, adding a significant cost to the project. - **The Target R-Value:** R-value measures thermal resistance - the higher the number, the better the insulation performs. For our climate zone (Zone 5), the U.S. Department of Energy recommends an attic R-value between R-49 and R-60. If your attic only has R-19 (a common level in older homes), you'll need a significant depth of new insulation to reach R-49, which means more material and a higher cost. - **Air Sealing:** This is arguably the most critical part of the job, and it’s a major cost factor. Before we blow in a single piece of insulation, our technicians meticulously seal air leaks around plumbing stacks, electrical wiring, recessed lights, and the attic hatch. Skipping this step is like wearing a winter coat that’s unzipped - the insulation won't be nearly as effective. A thorough air sealing job takes time and expertise but provides the biggest return on your investment. - **Attic Accessibility and Complexity:** A simple, open attic with a large access hatch and plenty of headroom is easier and faster to work in. Conversely, attics with low-pitched roofs, tight crawl spaces, or lots of obstructions (like HVAC equipment or complex framing) require more time and effort, increasing labor costs. Many of the classic 1950s Ranch and Cape Cod homes in the Katonah area feature these low-to-moderate roof pitches, which can make maneuvering and ensuring even coverage more challenging for our crews. - **Ventilation Work:** Proper attic ventilation is crucial for preventing moisture buildup and ice dams in the winter. We often need to install baffles at the eaves to ensure soffit vents aren't blocked by the new insulation. If your attic has poor ventilation, we may need to add or repair vents, which will be factored into the overall project cost. - **Debris and Obstacle Removal:** Some attics have been used for storage for decades. Clearing out old belongings, discarded building materials, or other debris takes time and adds to the labor cost. ## How to Get the Best Value Getting the “best value” doesn’t mean finding the cheapest price. A lowball offer often signals that a contractor is cutting corners - usually on critical steps like air sealing or ventilation. Here’s how to make a smart investment. - **Prioritize Air Sealing:** Don't accept a quote that doesn't include comprehensive air sealing. The energy savings from stopping air leaks are substantial and maximize the performance of the insulation itself. - **Look for Rebates and Credits:** Check with your local utility provider and the ENERGY STAR website for available rebates or tax credits on insulation and air sealing. These incentives can significantly reduce your net **attic insulation cost**. - **Understand the Long-Term Savings:** Frame this project as an investment, not just an expense. A properly insulated and air-sealed attic can reduce your heating and cooling bills by 15-25% or more, year after year. The project pays for itself over time and dramatically improves your home's comfort. - **Choose a Reputable Contractor:** A professional crew with standardized processes will protect your home with plastic sheeting, use proper safety equipment, and ensure a clean, efficient installation. This level of professionalism prevents costly mistakes and ensures the job is done right the first time. ## Questions to Ask Your Contractor When you get estimates, you are in control. Use these questions to vet potential contractors and ensure you’re comparing apples to apples. - **What is the final R-value you are quoting, and at what depth will the insulation be installed?** - **Is comprehensive air sealing included in this quote? Can you detail what you will be sealing?** - **Will you be installing baffles to ensure my soffit vents remain clear?** - **How will you handle heat-producing fixtures like recessed lights or flue pipes?** (They should be properly boxed out to prevent fire hazards.) - **Does your quote include the removal of my old insulation? If not, why?** - **What is your process for protecting my home from dust and debris during the installation?** - **Are your technicians employees or subcontractors? Are they fully insured?** - **Can you provide references from recent jobs in my area?** A contractor who can confidently and clearly answer these questions is one who understands the building science behind their work. Upgrading your attic insulation is one of the most effective home improvements you can make, especially with our long heating seasons in Westchester. It delivers immediate comfort, lasting energy savings, and a healthier home environment. While the initial cost is a factor, the long-term returns are undeniable. For a personalized estimate and a detailed attic inspection in the Katonah area, our team at Superior is here to help. Contact us for a free, no-obligation consultation.
Read MoreAs a lead service technician with over 14 years in the field here in Westchester County, one of the first questions I always get from homeowners is, "So, what's this going to cost?" It's a fair question, and when it comes to a significant home improvement like installing gutter guards, you deserve a straight answer. My goal here isn't to sell you anything, but to give you the practical, field-tested information you need to budget for your project and understand the value you're getting. Especially now, as September brings that beautiful but messy fall foliage to Katonah, the urgency for **fall gutter protection before winter** becomes very real. A small clog now can quickly turn into a major headache with ice dams and water damage once the late-fall rains and early freezes arrive. Let's break down the realistic **gutter guard cost** so you can make an informed decision for your home. ## Average Costs in Katonah When budgeting for professional **gutter guard installation in Katonah, NY**, it’s best to think in terms of price per linear foot. This includes both the materials and the skilled labor required for a proper, lasting installation. While you might see ads for very cheap products, those often don't account for the expertise needed to do the job right. Here’s a realistic breakdown of what homeowners in our area can expect: - **Entry-Level Guards (e.g., PVC screens, foam inserts):** $7 - $12 per linear foot. These are the most basic options. While they are inexpensive upfront, they often have a shorter lifespan, can become brittle, and may struggle with the heavy, wet leaf drop we see in Westchester. They can also make future gutter cleaning more difficult. - **Mid-Range Guards (e.g., quality aluminum, reverse-curve):** $12 - $22 per linear foot. These offer a significant step up in durability and performance. They handle moderate debris well but may not be as effective against smaller particles like pine needles or shingle grit. - **Premium Micro-Mesh Guards (e.g., stainless steel):** $25 - $40+ per linear foot. This is the category our technicians typically recommend and install. **Micro-mesh gutter guards in Westchester** are the gold standard for a reason. The fine stainless steel mesh blocks everything from large leaves to tiny pine needles and shingle grit, while still allowing for maximum water flow. They are incredibly durable and can withstand heavy snow and ice loads. For a typical 1950s Ranch-style home in Katonah with about 180 linear feet of gutters, the total project cost for a professional installation of high-quality micro-mesh guards would likely fall between **$4,500 and $7,200**. A larger or more complex multi-story home could be more. ## Factors That Affect Price The price per foot isn't the only variable. From my experience on job sites all over the county, several factors can influence the final quote. Our process involves assessing each of these to provide an accurate estimate. - **Total Linear Footage:** This is the most straightforward factor. The more gutters you have, the more material and labor are required. - **Condition of Existing Gutters:** This is critical. Gutter guards can only work if the system they are attached to is functional. Before we install any guards, we must ensure your gutters are thoroughly cleaned, properly sloped for drainage, and securely attached to the house. If we find significant clogs, sagging sections, or leaks, those repairs will need to be factored into the cost. Installing guards over damaged gutters is a recipe for failure. - **Home Height and Roof Complexity:** A single-story Ranch home, common in many Katonah neighborhoods from the 1950s, is generally more accessible and safer to work on than a three-story Colonial with a steep roof pitch. Taller homes require more extensive safety equipment, taller ladders, and more time, which increases labor costs. - **Fascia and Soffit Condition:** The fascia board is what your gutters are mounted to. During our initial inspection, we always check for signs of wood rot or water damage. If the fascia is soft or compromised, it must be repaired or replaced before new guards can be safely installed. This is a non-negotiable step to ensure a long-lasting and secure installation. - **Type and Quality of Gutter Guard:** As noted above, a premium stainless steel micro-mesh guard costs more than a simple plastic screen. However, the long-term value and superior performance almost always justify the initial investment, especially given Katonah's heavy tree cover. - **Accessibility:** Are your gutters located over a deck, extensive landscaping, or on a steep hill? Difficult-to-access areas require more careful planning and setup time, which can slightly increase the labor portion of the estimate. ## How to Get the Best Value Getting the best value isn't about finding the cheapest price; it's about making a smart, long-term investment in your home's protection. A poorly installed, low-quality guard will cost you more in the long run through water damage, premature replacement, and continued cleaning hassles. - **Think Long-Term:** A high-quality micro-mesh system with a strong warranty might have a higher upfront cost, but it can provide 20+ years of maintenance-free performance. A cheap guard might fail after just a few winters, forcing you to start over. - **Bundle Services:** If your gutters need a deep cleaning and minor repairs anyway, having it all done at once by the same professional crew is more efficient and cost-effective than hiring separate contractors for each task. - **Prioritize Quality Installation:** The performance of a gutter guard is only as good as its installation. Our technicians follow a standardized process to ensure every section is secure, seamless, and functions correctly. An improperly installed guard can create gaps for debris or, even worse, direct water back toward your fascia and roof. - **Understand the Warranty:** A reputable company will offer a strong warranty on both the product itself (material defects) and the labor (installation quality). This is a key indicator of their confidence in the work. ## Questions to Ask Your Contractor When you get an estimate, you should feel empowered and informed. Here are the questions I recommend every homeowner ask before signing a contract: 1. **What specific type and brand of gutter guard do you recommend for my home, and why?** A pro should be able to explain why a certain product is best for your roof type, tree cover, and local climate. 2. **Does your estimate include a full gutter cleaning and system tune-up?** You need to know if cleaning, re-pitching, and sealing corners are part of the base price or an extra charge. 3. **How do you handle unexpected issues, like discovering rotted fascia board?** They should have a clear, transparent process for communicating the issue and providing a change order for the repair. 4. **Are your installation crews employees or subcontractors? Are they fully insured?** This is crucial for your protection. You want to ensure the people working on your home are trained and covered by workers' compensation and liability insurance. 5. **How are the guards attached to the gutters or roof?** Some installation methods can interfere with your roof shingles and potentially void your roof's warranty. A professional installer will use a method that protects your roof. 6. **What does your warranty cover and for how long?** Get specifics on both the material and the labor. Investing in a quality gutter guard system is one of the smartest decisions you can make to protect your home's foundation, roof, and landscaping from water damage. It’s a permanent solution to the recurring chore of climbing ladders and a key piece of **fall gutter protection before winter** sets in. For a personalized estimate and a detailed inspection of your home's gutter system in the Katonah area, our team at Superior is here to help. Contact us for a free consultation to ensure your home is ready for the seasons ahead.
Read MoreAs a Lead Service Technician for **Superior**, I’ve spent over a decade helping homeowners in Katonah and across Westchester County. The calls we get in early fall always have a certain urgency. As the cool nights return, hidden problems in a home start to reveal themselves. That was exactly the case when we received a call from a family in a beautiful pre-1940s colonial in Katonah. They had started noticing a persistent, musty odor in their upstairs hallway and were concerned about what it could mean as winter approached. They knew something wasn’t right in their attic, and with the first frost just weeks away, they needed an **attic moisture fix** - and fast. Older homes like theirs, with their classic construction, often have hidden ventilation and air leakage issues that go unnoticed for years. The homeowners were right to be worried. That faint musty smell is one of the most common **attic condensation signs Katonah NY** residents encounter, and it’s a warning that bigger problems like wood rot and mold are likely developing just out of sight. ## The Assessment When I arrived for the inspection, I knew what to look for. As soon as I opened the attic hatch, the smell of damp, stagnant air confirmed the homeowner's suspicion. The air was heavy and humid, a clear sign that moisture was getting trapped. A thorough inspection with my thermal camera and moisture meter revealed a textbook case of an attic ecosystem in crisis. Here’s what our comprehensive **Superior** attic assessment uncovered: - **Compromised Roof Decking:** The underside of the roof sheathing was damp to the touch in several areas, with dark, streaky stains indicating prolonged moisture exposure. This is the direct result of warm, moist air from the living space condensing on the cold wood surface. Left unchecked, this leads to rot and structural decay. - **Blocked Intake Vents:** The home had soffit vents, but years of blown-in insulation had completely blocked them. Without this crucial intake, the attic had no way to draw in cool, dry air. The entire ventilation system was suffocated at its source. - **Improperly Vented Bathroom Fans:** This was the biggest culprit. Both of the home's upstairs bathroom fans were venting directly into the attic space. Every hot shower was pumping gallons of warm, humid air straight into the attic, where it had nowhere to go. This is a common shortcut we find, and it’s a primary driver of severe attic moisture problems. It’s a classic candidate for a **bath fan venting repair Westchester** homes frequently need. - **Significant Air Leakage:** Using a smoke puffer, I identified numerous air leaks from the heated living space below. Gaps around light fixtures, plumbing stacks, and the attic access panel itself were acting like straws, constantly pulling conditioned, moist air up into the cold attic. The attic was a perfect storm for winter condensation. The combination of a massive interior moisture source, significant air leakage, and a complete lack of ventilation meant that as soon as outdoor temperatures dropped, the attic would become a condensation nightmare, accelerating mold growth and damaging the home’s structure. ## Our Solution After walking the homeowners through my findings and explaining the dynamics at play, I laid out the comprehensive solution our **Superior** team would implement. This wasn't just about patching a symptom; it was about re-engineering the attic to function correctly for the long term. Our 3-person crew was scheduled to complete the project in just two days. Our approach was systematic and addressed the root causes of the moisture problem: 1. **Meticulous Air Sealing:** The first and most critical step was to separate the attic from the house below. Our crew carefully removed insulation around all penetrations and used two-part expanding foam and specialized sealants to close every gap. We sealed around electrical wires, plumbing pipes, the chimney chase, and the top plates of interior walls. We also installed a custom-insulated and weather-stripped cover for the attic hatch, a major source of air and heat loss. 2. **Professional Bathroom Fan Venting:** Next, we tackled the moisture source. We disconnected the improper fan vents and ran new, rigid, insulated ductwork from each bathroom fan. These ducts were routed through the roof and terminated at new, high-quality roof vent caps with built-in dampers. This ensures all the humid air from showers is exhausted directly outside, not into the attic. This is the only correct way to perform this kind of **bath fan venting repair Westchester** County codes require. 3. **A Complete Soffit-to-Ridge Ventilation Upgrade:** This part of the project serves as a perfect **soffit ridge vent upgrade case study**. With the attic sealed and moisture sources eliminated, we restored the attic’s passive ventilation system. - We started at the eaves, pulling back insulation and installing durable baffles in each rafter bay. These baffles create a clear, protected channel for air to flow from the soffits up along the underside of the roof deck, preventing insulation from ever blocking them again. - The final step was installing a new, shingle-over ridge vent along the entire peak of the roof. This allows the rising warm, moist air to escape efficiently. By creating this continuous airflow from soffit to ridge - known as the “stack effect” - we transformed the attic from a stagnant, damp box into a dry, breathing space that protects the home. The entire process was managed by a dedicated **Superior** project lead, ensuring the work was done to our high standards and the job site was left spotless. ## The Results The transformation was immediate and profound. On our final walkthrough, the air in the attic was crisp and dry. The musty odor that had plagued the upstairs was completely gone. The homeowners could literally feel the difference. By implementing a complete **attic moisture fix**, the **Superior** team delivered significant, lasting benefits: - **A Healthy, Dry Attic:** The new ventilation and air sealing system actively removes moisture, preventing the conditions necessary for mold, mildew, and wood rot to develop. The roof structure is now protected for decades to come. - **Improved Indoor Air Quality:** By stopping the stack effect from pulling musty attic air into the living space, the home’s overall air quality was noticeably improved. - **Peace of Mind for Winter:** The homeowners no longer have to worry about what’s happening in their attic when the temperature drops. They can be confident their home is safe from the destructive cycle of winter condensation. - **Enhanced Energy Efficiency:** A dry attic means the insulation can perform at its intended R-value. While not the primary goal, a properly sealed and vented attic often contributes to a more comfortable home and lower energy bills. The homeowners were thrilled with the professionalism of our crew and the clarity of our process. They went from being worried about a mysterious problem to feeling confident their historic home was protected for the future, all thanks to the expertise of the **Superior** team. ## Conclusion That damp, musty smell in the fall is your home’s way of asking for help. Addressing attic condensation and ventilation issues before winter sets in is one of the smartest investments you can make in the health and longevity of your property. This Katonah project is a perfect example of how a systematic approach can solve complex moisture problems for good, turning a liability into a high-performing part of the home. We are proud to have delivered a solution that will protect this family’s home for years to come. Ready for your own **Superior** experience? Contact us today for a free inspection.
Read MoreAs a Lead Service Technician with **Superior**, I’ve seen firsthand how the beautiful, historic homes in our area can hide significant water-related challenges. This was exactly the case when we received a call from a family in Katonah, NY, this past September. They lived in a gorgeous pre-1940s home, the kind with character and charm you just don’t find in new construction. But with that history came a persistent problem: a damp, musty basement that felt worse after every heavy rain. The homeowners were proactive. They weren’t just worried about the current dampness; they were anxious about the coming winter. They understood that Katonah’s notorious freeze-thaw cycles could turn a small moisture issue into a major basement flood. They had seen neighbors struggle with winter seepage and wanted to find a permanent **freeze thaw basement seepage solution** before the ground froze. They called **Superior** looking for an expert opinion and a plan to secure their home for the long term. I scheduled an inspection for the following day, ready to see what was happening behind the scenes. ## The Assessment When I arrived, the home was just as they described - a stately property with a solid fieldstone foundation, typical of its era. On the surface, everything looked sound. But my experience told me to look closer. The basement had been painted over the years, a common cosmetic fix that often masks deeper issues. The homeowners noted that certain walls felt damp to the touch and a musty odor was always present, forcing them to run a dehumidifier constantly. My comprehensive assessment began with a visual inspection. I immediately spotted efflorescence - a white, chalky powder - peeking through cracks in the paint on the lower sections of the foundation walls. This is a tell-tale sign of water passing through the stone and concrete, leaving mineral deposits behind as it evaporates. Using a moisture meter, I confirmed high moisture readings along the base of the walls, especially where the walls meet the concrete floor. This area, known as the cove joint, is a primary entry point for water under hydrostatic pressure. The problem was clear: the home's nearly century-old foundation, while strong, was not inherently waterproof. Over decades, the constant pressure from groundwater, amplified by Westchester County’s wet seasons and freeze-thaw cycles, had forced moisture through microscopic pores and cracks in the fieldstone and mortar. The paint was simply trapping this moisture, causing it to build up and contribute to the musty smell and deteriorating air quality. The basement had no drainage system to manage this inevitable seepage. It was a classic scenario that, if left unaddressed, would undoubtedly lead to significant water problems during the winter and spring thaws. ## Our Solution After walking the homeowners through my findings, I laid out a comprehensive plan designed by **Superior** to permanently resolve the issue. This wasn't about another coat of paint; it was about installing an active water management system. We proposed a full-perimeter **basement waterproofing Katonah** solution, turning their basement from a liability into a dry, stable, and healthy space. This project would become a perfect **interior drain system case study** for homes of this vintage. Our highly trained 4-person crew began work the following week. The process was systematic and designed for minimal disruption: 1. **Perimeter Channel Preparation:** First, we carefully cut and removed a narrow section of the concrete floor around the entire interior perimeter of the basement. This created a trench to house the new drainage system. 2. **Drainage System Installation:** We laid a bed of clean, crushed stone in the trench to promote drainage and prevent clogging. On top of this, we installed our high-performance perforated drain pipe. This pipe is specifically engineered to collect water from the wall-floor joint and from below the basement floor. 3. **Wall Seepage Management:** To manage moisture coming through the porous fieldstone walls, we installed a durable, dimpled drainage matting against the lower portion of the walls. This barrier directs any and all wall seepage directly down into the new drainage system, keeping the basement environment dry. 4. **Sump Pump Installation:** All the collected water needed a reliable way out. We excavated a sump pit in the lowest corner of the basement and performed a professional **sump pump installation Westchester County**. We installed a powerful, cast-iron Zoeller sump pump capable of handling heavy water flow. For total peace of mind, we also installed a battery backup pump, ensuring the system would continue to operate even during a power outage - a common occurrence during winter storms. 5. **Finishing Touches:** Once the entire system was connected and tested, our crew re-poured concrete over the trench, leaving a clean, seamless, and perfectly level floor. The entire process was completed by our efficient **Superior** team in just three days. ## The Results Immediately upon completion, the change was remarkable. The persistent musty odor was gone, replaced by the clean smell of fresh concrete. The homeowners were thrilled with how neat and professional our crew was, leaving the basement cleaner than when they started. They now had a basement that was not just dry, but backed by a lifetime warranty from **Superior**. The true test, however, came that winter. Katonah experienced a heavy snowpack followed by a rapid thaw in late February. The homeowners watched as their neighbors’ sump pumps ran constantly and some even dealt with minor flooding. In their basement? Not a single drop of water. The interior drainage system silently captured all the hydrostatic pressure and funneled it to the sump pump, which quietly discharged it away from the foundation. The battery backup provided invaluable peace of mind during a brief power outage from a nor'easter. By investing in a professional waterproofing system from **Superior**, the family didn't just fix a leak. They protected the structural integrity of their historic home's foundation, improved the indoor air quality for their family, and reclaimed their entire basement as usable, valuable square footage. They are now planning to finish a portion of the basement as a playroom, something they never would have considered before. This project is a testament to the fact that older homes don't have to have wet basements. With the right diagnosis and a professionally engineered solution, even the most challenging foundations can be made permanently dry and secure. Ready for your own **Superior** experience? Contact us today for a free inspection.
Read MoreNo pressure. No obligation. Just an honest assessment from a team you can trust.